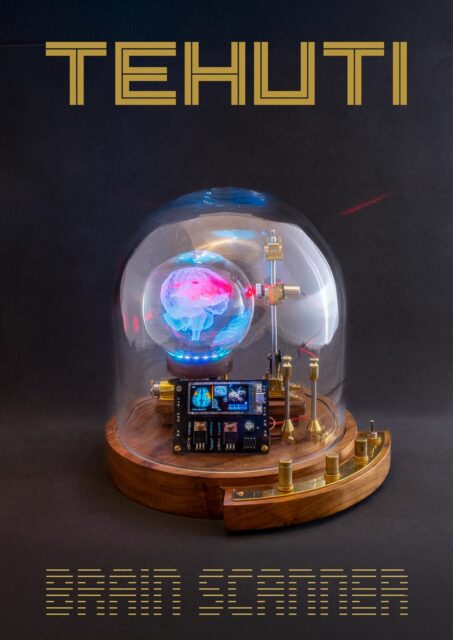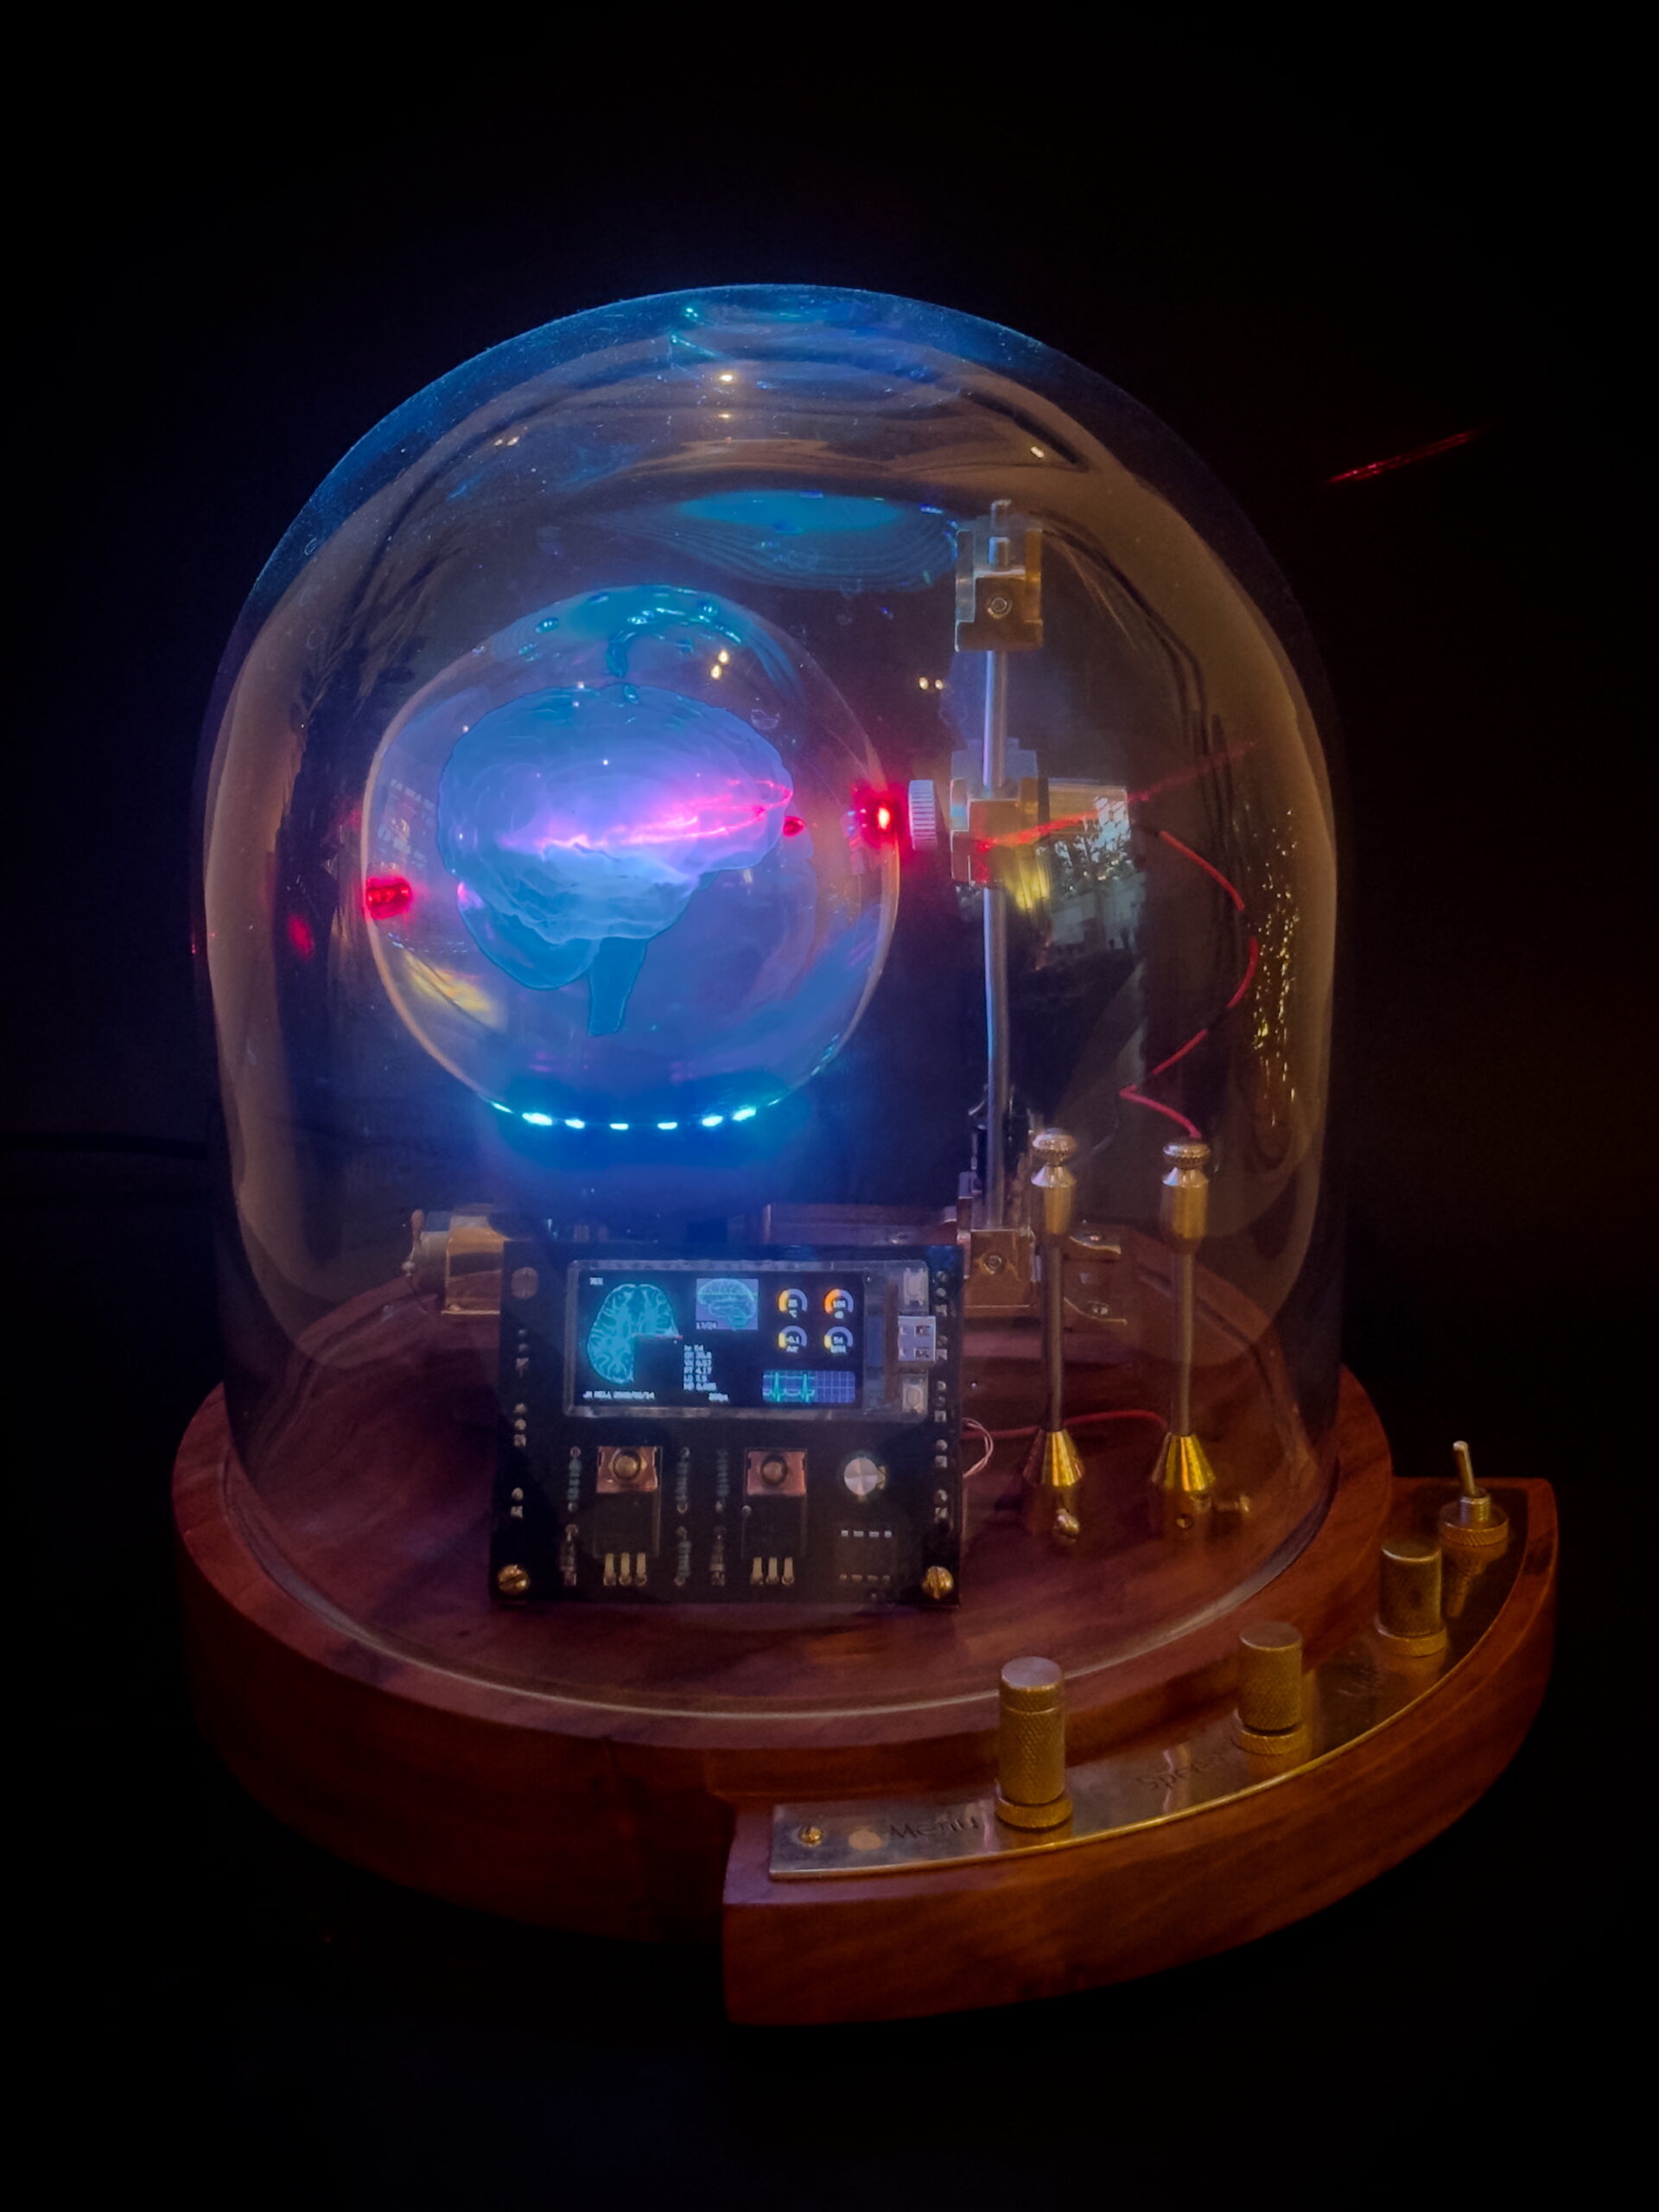
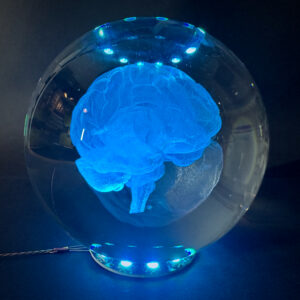
It started with a crystal ball. Inside it had an intricate 3D model of the human brain. Eversince my daughter started studying Psychology, we’re giving each other brain-related presents.
The crystal ball came from AliExpress and was beautiful in its own right. The general idea is to illuminate these from below, making the brain stand out beautifully. However, I happen to have a drawer full of laser leds and was curious to see what would happen when using these to light up the model. A red laser with a lens that spreads the beam into a line, immediately hit home. It illuminated a perfect slice of brain, bringing to mind the way that a modern (f)MRI or CT scanner maps our brains.
I have a background in psychology myself, but when I graduated 30 years ago, the medical technology available today was still in the realm of science fiction.
To simulate the slice-by-slice nature of an MRI-scan, I started by making a slider mechanism that moves the laser up and down. I used a series of beautiful, tiny, electric motors with an exposed brass gearbox so you can actually see the gears spinning when moving the laser. Some of these motors come with a lead screw attached: perfect for fairly slow movements up or down. To track the position of the laser, I embedded a tiny magnet in the base of the lead screw, which triggers a Hall-effect sensor at every rotation. To establish a known starting point directly after switching on the machine, I added a microswitch near the lowest point of the slider.
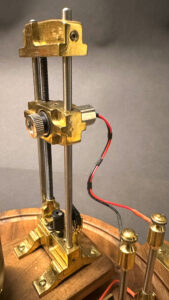
The lead screw on the N20 motor is a metric M4 size, for which I had the thread taps readily available. I decided to expose the leads of the laser and connect them to two clearly visible poles. This way I didn’t need a fancy way of conducting the energy with sliding contact points. And it doesn’t detract from the overall aesthetic.
The next challenge was the crystal ball rotation. Where real scanning machinery revolves around the patient being scanned, I decided that just rotating the crystal ball would be clear enough.
While the ball rotates, the laser illumination is not equally strong everywhere, which gives a fascinating play of light.
Safety concerns
Lasers are not toys. Any concentrated laser beam can cause eye damage when aimed directly at the eye. I use a low-power 10 milliwatt laser module emitting red light. The lens in front of the laser disperses the concentrated beam and creates a line that is projected into the crystal ball. This line is reflected by some of the thousands of miniature ‘cracks’ in the glass that form the transparent 3D model of the brain.
I have been trying to assess the danger of people watching these small reflections, but haven’t found a definitive answer. A request to have this machine tested by the TÜV institute was declined politely as being too small-scale.
In the hours and hours of developing the machine I have not experienced any negative effects, but if there’s someone knowledgeable reading this, I would love to hear their opinion!
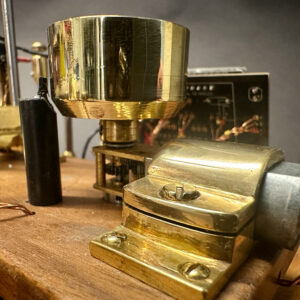
The crystal ball has a 10 centimeter (~4 inch) diameter and weighs 1.3 kilogram. I used a small motor similar to the one used for the slider, but this one has a small worm gear to reduce the rotation speed and increase the torque. The ball rests on a brass holder I machined to fit neatly inside a round Neopixel ring with 12 full color LEDs. Like with the slider mechanism I used a small magnet and a Hall-effect sensor to detect a full rotation.
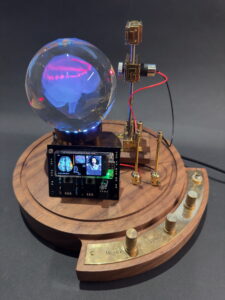
ESP32-S3
Controlling the motion of the slider and the crystall ball is handled by an ESP32-S3 microprocessor equipped with a small but very high-resolution OLED display. The display measures 1.91 inches diagonally but still packs 536 by 240 pixels. I chose this display for its rich colors, high resolution and because I wanted to direct most of the attention to the 3D brain model and the play of light.
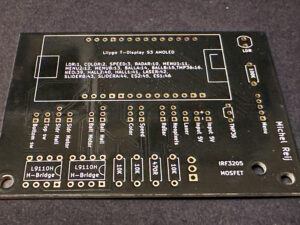
With the help of a great series of video tutorials on YouTube I created my own PCB to connect the microcontroller to some electronics component driving the motors and Hall-effect sensors. I had this PCB machined in China and it works brilliantly.
Despite the small screen connected to the ESP32-S3, I wrote a rather big and richly detailed simulation of a brain scanner. The various modes available are accessed using a rotary controller controlling a menu on the screen.
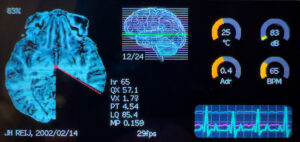
The first item in the menu is labelled “Full brain scan”. It starts with the laser moving down to the brain stem. Once it’s there, the ball will spin 360 degrees with the laser highlighting a slice of the brain stem. On screen you see a simulated scan, building up from zero degrees to 360. Once the scan is complete, the ball stops, the laser stops and the slider moves up to the next slice, to then repeat the scan sequence.
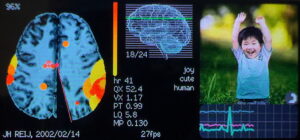
The second item in the menu is called “Emotion mapping”. Here the laser moves to a fixed vertical position where the neocortex is prominently present. The simulation is showing a stimulus, a photo with a certain emotion, on the right side, while the scan on the left shows with bright yellow to red colors which areas of the brain have been activated by the stimulus. The little heart rate monitor is also influenced by the stimuli, accellerating when fear or anger are shown and slowing down when there are more positive emotions visible.
Other scanning modes are based on both well-established tests like the Trail-making Test and some infamous psychological tests like the Rorschach.
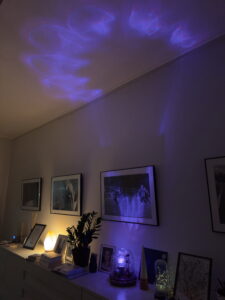
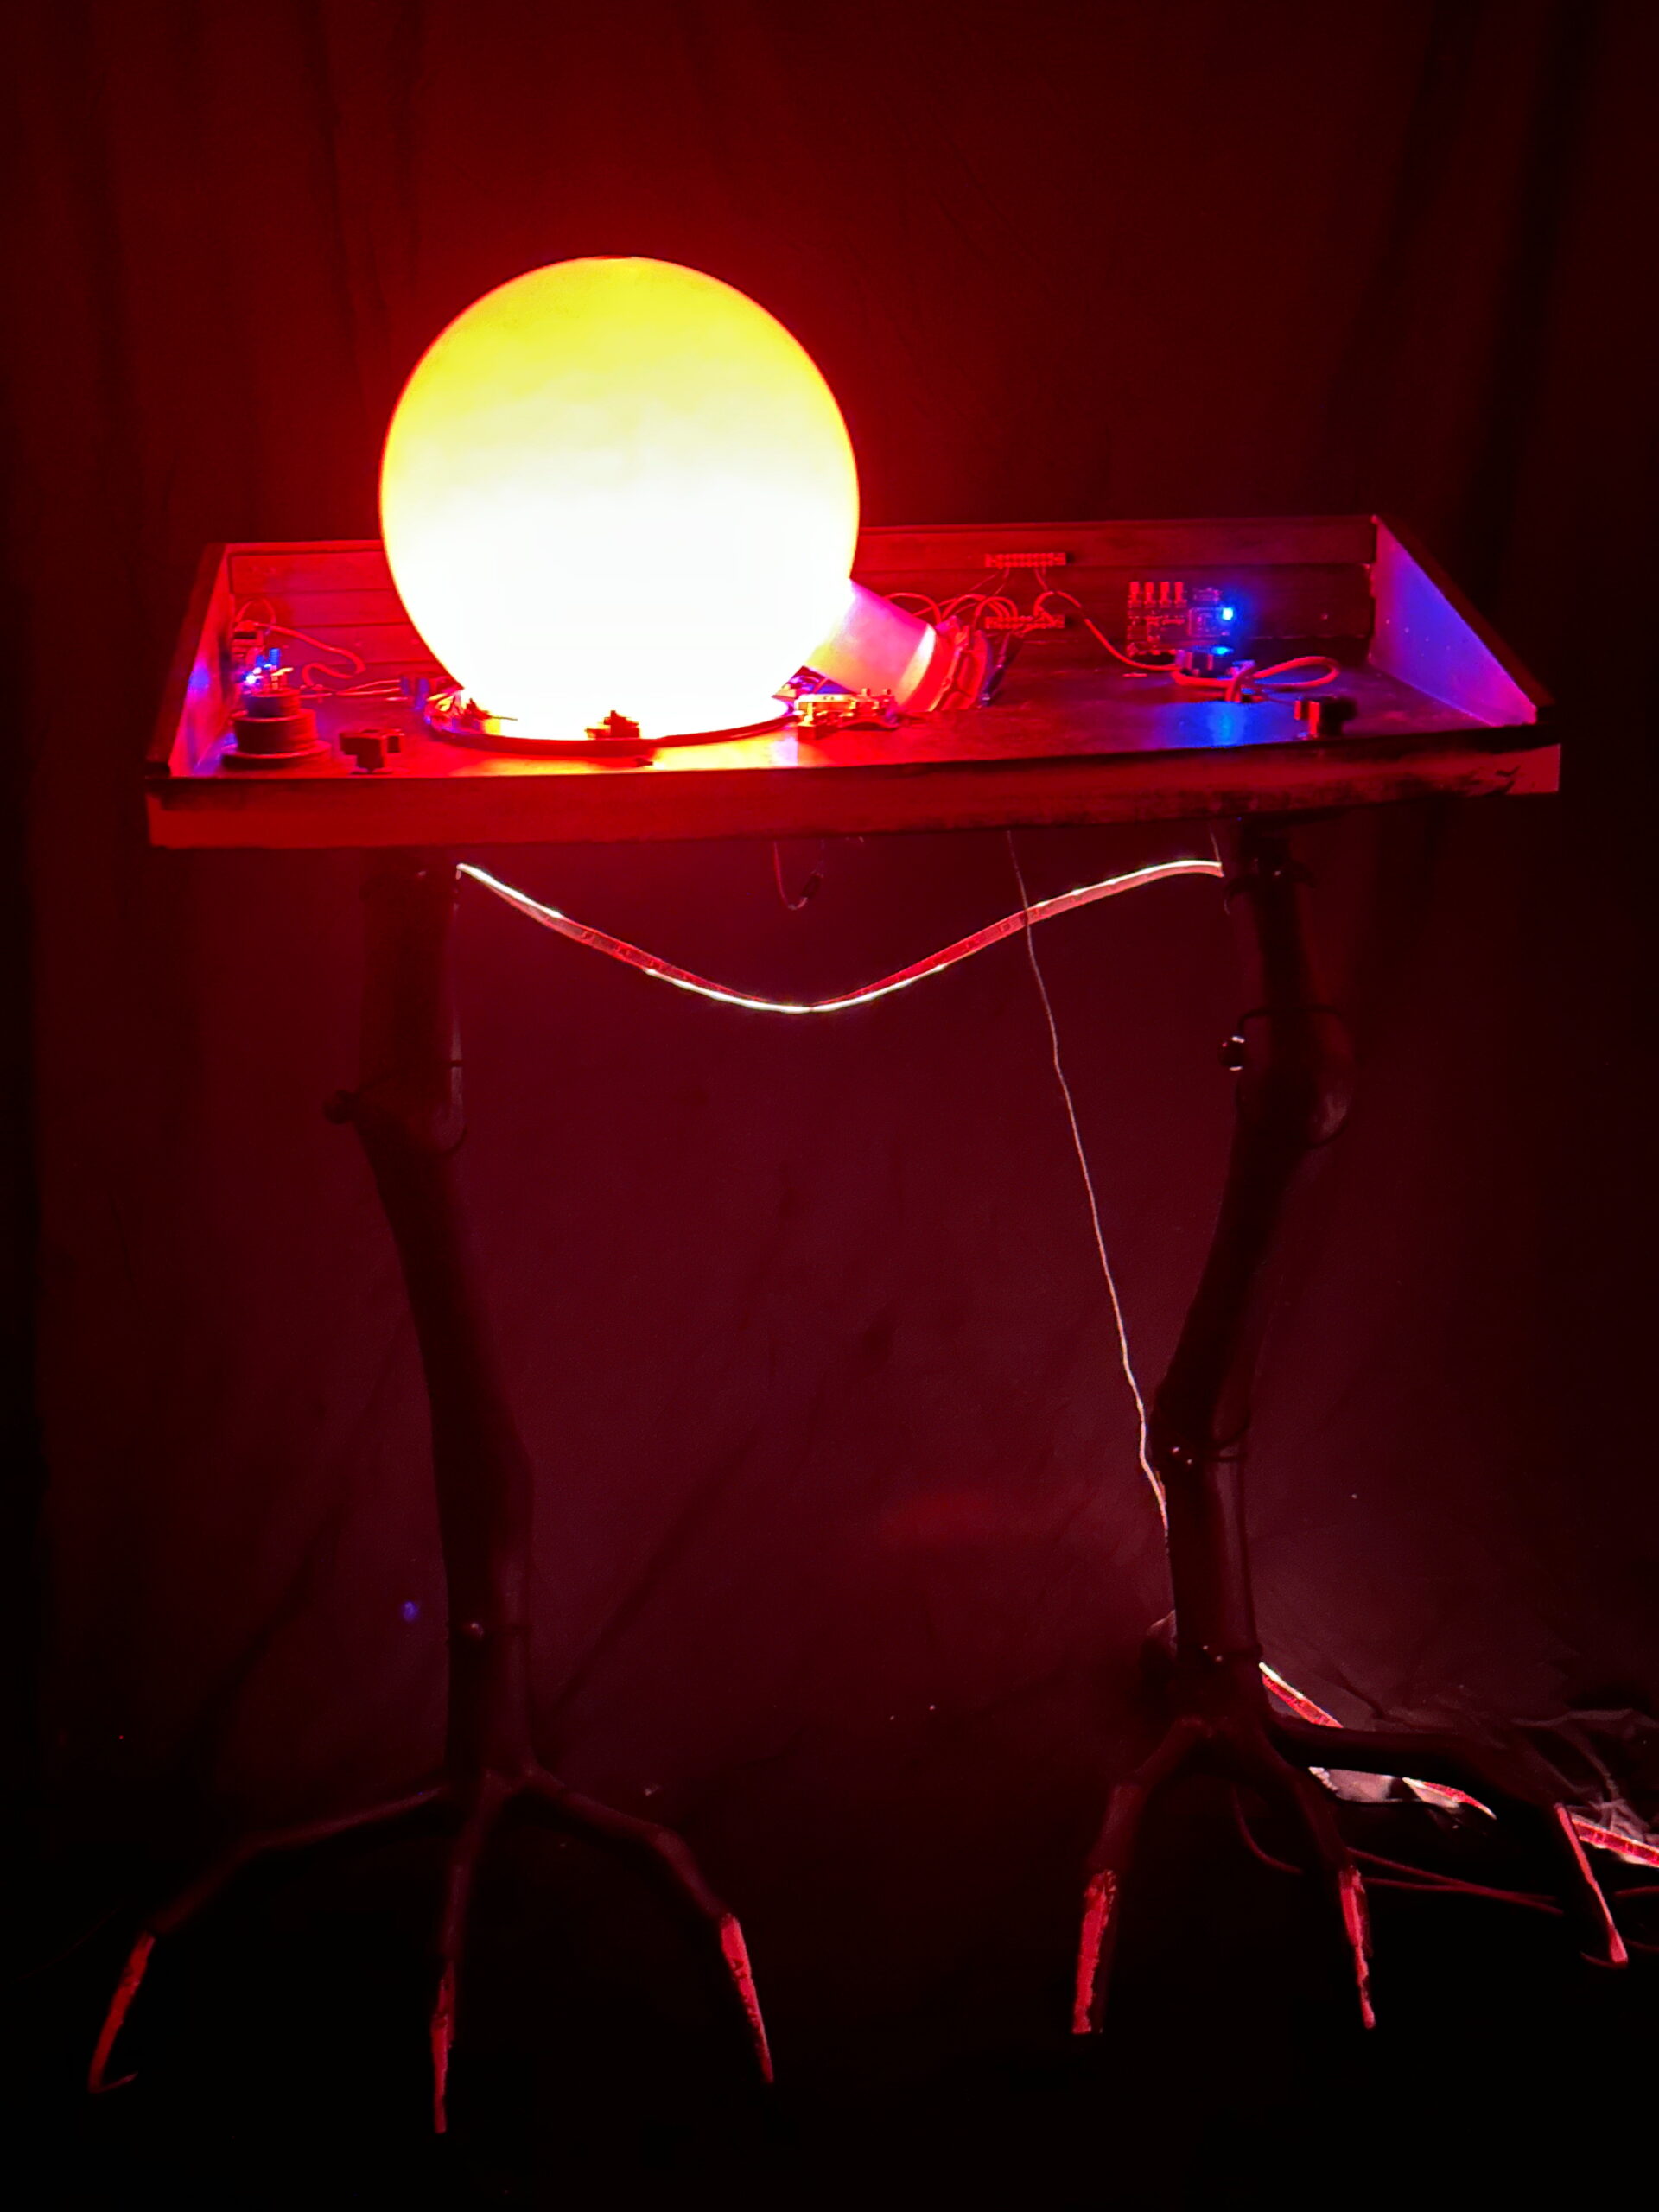
A funny side effect of the LEDs under the ball is the beautiful light projections on the ceiling. I created two menu options to use this effect when the machine is not in active use. There’s a built-in sleep timer that switches off all lights and motors after 10 minutes of absence of human beings, as detected by a small human presence detector. It comes back to life as soon as it detects a presence.
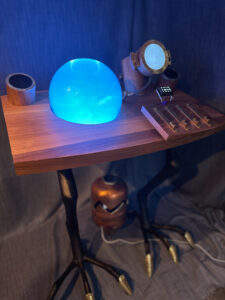
The base of the machine is made from a solid solid slab of FSC-controlled American Walnut. This is my favorite type of wood due to its warm color and its excellent machining properties. It’s basically round with a quarter circle appendix for the few controls of the machine. A glass dome protects the machine from dust and fingerprints.
Over time I have started to regret my choice for the small screen because I spent much more time programming the simulation than in creating the brass and wooden hardware elements. Most of the little jokes I included, like a little snake writhering through the brain scan when seeing a stimulus image of a snake, can only be seen with a magnifying glass. Next versions will feature a bigger screen.
I will produce a small series of this wonderful machine, with a bigger screen. If you’re interested, please contact me.